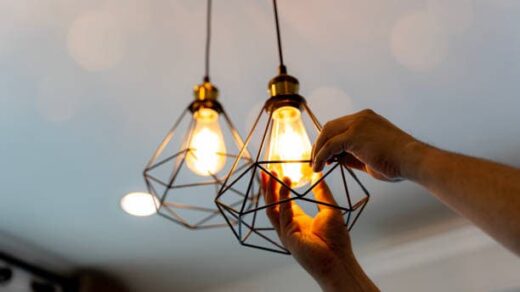
3-way switch wiring can be a game-changer in your home’s lighting setup. Imagine having the power to control a single light fixture from two different locations. Whether you’re in a spacious room, a hallway, or even on the stairs, 3-way switches offer a convenient solution.
In this comprehensive guide, we’ll explore 3-way switch wiring, focusing on a scenario where the power and the light are in the same electrical box. By the end of this article, you’ll have the knowledge and confidence to tackle this electrical project yourself.
What Is 3-Way Switch Wiring?
3-way switch wiring is a method that allows you to control a single light fixture from two different switches. This setup is incredibly useful in areas with multiple entrances or spaces where it’s convenient to turn the lights on or off from various locations. It’s commonly used in hallways, stairwells, and large rooms.
In a standard single-pole switch, you have one switch that opens or closes the circuit to control the light. With 3-way switches, you introduce a second switch into the equation. Together, they create a circuit that enables you to control the same light fixture from two locations.
Why Opt for 3-Way Switch Wiring?
3-way switch wiring offers several advantages, making it a popular choice for many homeowners:
- Convenience: You can control the same light from multiple locations, enhancing convenience and flexibility;
- Energy Efficiency: You can easily turn off lights from different locations to save on energy costs;
- Safety: Multiple access points to lighting can improve safety by ensuring you’re not stumbling in the dark;
- Aesthetics: 3-way switches eliminate the need for pulling multiple strings or using wireless remote controls, maintaining a clean and aesthetically pleasing appearance.
Tools and Materials You’ll Need
Before you embark on your 3-way switch wiring project, it’s essential to gather the necessary tools and materials:
Tools:
- Screwdrivers (flathead and Phillips);
- Wire strippers;
- Needle-nose pliers;
- Voltage tester;
- Drill and bits (if needed);
- Drywall saw (if needed).
Materials:
- Two 3-way switches;
- Electrical box;
- NM-B (non-metallic sheathed) cable;
- Wire connectors;
- Grounding screw;
- Electrical tape.
Check out this video guide with a simple explanation three way switch, power and switch leg in the same box
Step-by-Step Guide to 3-Way Switch Wiring with Power and Light in the Same Box
Follow these steps to complete your 3-way switch wiring project.
Step 1: Turn Off the Power
Safety first! Turn off the power at the circuit breaker to ensure there’s no electricity running through the wires.
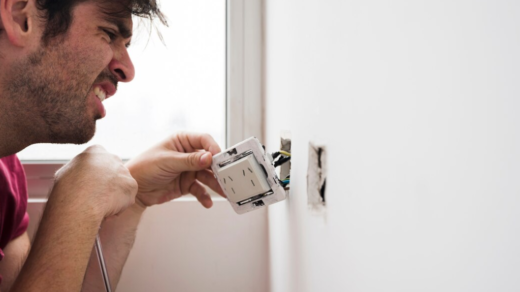
Step 2: Remove the Existing Switch
If there’s already a switch in place, carefully remove it from the electrical box, exposing the wires.
Step 3: Connect the Wires
- You’ll find three wires in the electrical box: a black “hot” wire, a white neutral wire, and a bare copper ground wire;
- Identify the common terminal on your new 3-way switch and connect the black “hot” wire to it.
- Attach the white neutral wire to the silver-colored terminal;
- Connect the bare copper ground wire to the green grounding screw.
Step 4: Add Traveler Wires
- From the original switch box, run a 2-wire cable (with a black and white wire) to the second switch location;
- Connect the black wire (the “traveler”) to the brass-colored terminal on the new switch.
- Attach the white wire to the light fixture.
Step 5: Repeat at the Second Switch Location
- At the second switch location, connect the incoming black “hot” wire to the common terminal;
- Attach the white wire to the light fixture.
Step 6: Completing the Wiring
- Run a 3-wire cable (with a red, black, and white wire) between the two switch boxes;
- Connect the red and black wires to the remaining traveler terminals on both switches.
Step 7: Test the Configuration
Turn the power back on and test your 3-way switch setup. You should be able to control the light fixture from both switch locations.
Explore how to find electrical burning smell in house, check out there How to Find the Source of Electrical Burning Smell? Find out
Common Issues and Troubleshooting
If you encounter any issues during your 3-way switch wiring project, here are some common problems and their solutions:
- Lights Don’t Turn On: Ensure that you’ve connected the wires to the correct terminals on the switches. Double-check your connections;
- Switches Don’t Work: Check for loose connections and make sure all wire connections are secure;
- Flickering Lights: This can be caused by a loose or corroded wire connection. Examine all connections for issues;
- Inconsistent Switch Operation: Make sure you’ve correctly wired both switches and that the travelers are connected appropriately;
- Power Isn’t Reaching the Second Switch: Verify that the 3-wire cable between the switches is connected properly.
Conclusion
3-way switch wiring with power and light in the same box can be a valuable addition to your home, enhancing both convenience and safety. By following this comprehensive guide and understanding the ins and outs of 3-way switch wiring, you’re well-equipped to tackle this electrical project yourself.
As always, prioritize safety and consult a professional electrician if you encounter any challenges or uncertainties. Enjoy the newfound flexibility and efficiency in your lighting control!

